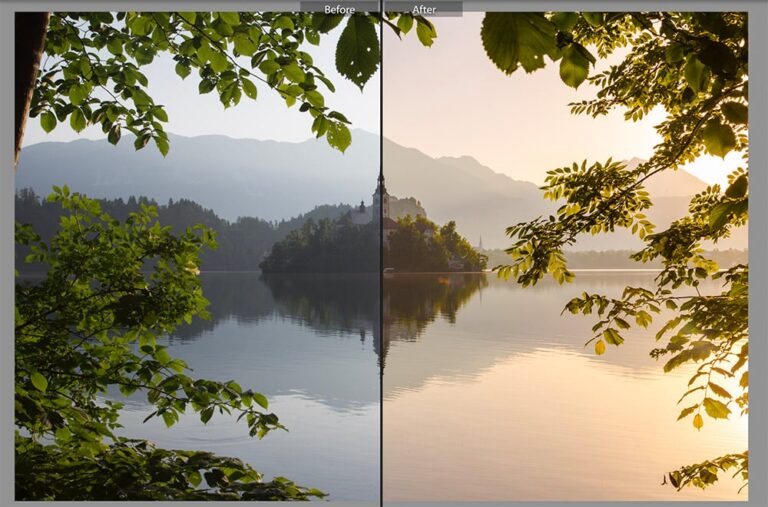
Photography is a beautiful art form that allows us to capture moments and memories. However, sometimes the photos we take don’t turn out as perfect as we’d like. This is where a photo editing service comes in.
Utilizing a photo editing service can transform a good photo into a great one, enhancing colors, fixing mistakes, and making your images truly shine. Photography editing techniques, both simple and advanced, play a crucial role in this transformation. In this blog, we have explored how you can enhance your photography through editing, using both simple and advanced techniques.
Why edit your photos?
Editing is an essential part of the photography process. Even professional photographers edit their images to bring out the best in them. Here are some reasons why editing is important:
- Sometimes, the colors in a photo look dull. Editing make the colors more vibrant and lifelike.
- Did you take a great photo, but there’s something small that you want to change? Editing can fix those little mistakes.
- Cropping and adjusting the framing improve the overall composition of your photo.
- Adding effects like black and white, sepia, or vintage give your photos a unique look.
- You remove blemishes, smooth skin, and make other retouches to portraits to make people look their best.
Basic photo editing techniques
Let’s start with some basic editing techniques that anyone can use. You don’t need to be a professional to make your photos look better.
1: Cropping and straightening
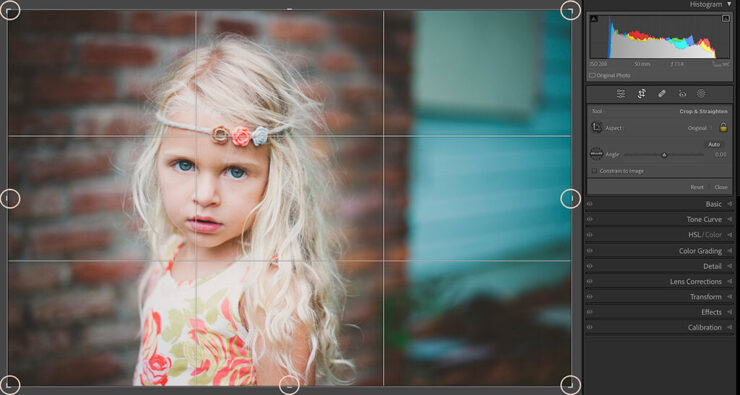
One of the simplest editing tasks is cropping. Cropping can remove unwanted parts of the photo and help focus on the main subject. Straightening helps if your photo is slightly tilted.
Cropping: Choose the crop tool in your editing software, then select the area you want to keep. Adjust the edges to remove any distractions.
Straightening: Look for a straighten tool or use the crop tool to rotate the image slightly until the horizon or main lines are straight.
2: Adjusting brightness and contrast
Brightness and contrast adjustments can make a big difference in your photos. Brightness changes the overall lightness or darkness of the image, while contrast adjusts the difference between the lightest and darkest parts.
Brightness: Increase brightness to make a dark photo lighter, or decrease it if your photo is too bright.
Contrast: Increase contrast to make the colors and details stand out more. Decrease contrast if the image looks too harsh.
3: Enhancing colors
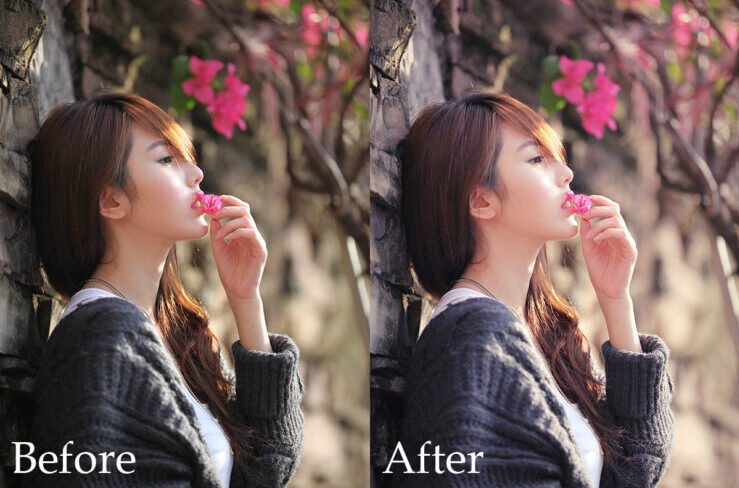
Color enhancement can make your photos more vibrant. You can adjust the saturation and vibrance to make colors pop.
Saturation: Increase saturation to make all colors in the photo more intense. Be careful not to overdo it, as it can make the photo look unnatural.
Vibrance: Adjusting vibrance can enhance the muted colors while keeping the already vibrant colors natural.
Sharpening: Sharpening makes your photos look more detailed. It enhances the edges and textures in the photo.
Sharpen tool: Use the sharpen tool to enhance the details. Don’t over-sharpen, as it creates noise and makes the photo look grainy.
4: Removing blemishes
For portraits, you might want to remove small blemishes or imperfections. Most editing software has a spot healing brush or similar tool.
Spot healing: Select the spot healing tool and click on the blemishes you want to remove. The software will blend the area to match the surrounding skin.
Advanced photo editing techniques
Once you’re comfortable with basic editing, you try some advanced techniques. These require a bit more practice but significantly improve your photos.
1: Using layers
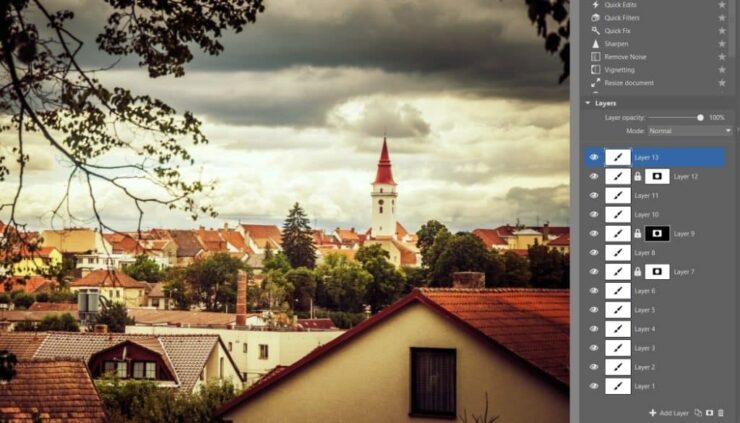
Layers allow you to make adjustments without permanently changing the original image. This gives you more control and flexibility.
Adjustment layers: Use adjustment layers for brightness, contrast, and color changes. This way, you can tweak them later if needed.
Layer masks: Layer masks let you apply adjustments to specific parts of the photo. Use a brush to paint where you want the effect.
2: Dodging and burning
Dodging and burning are techniques to lighten or darken specific areas of the photo. This add depth and dimension.
Dodge tool: Use the dodge tool to lighten areas. This is great for highlighting certain parts of your photo.
Burn tool: Use the burn tool to darken areas. This can add shadows and contrast.
3: Color grading
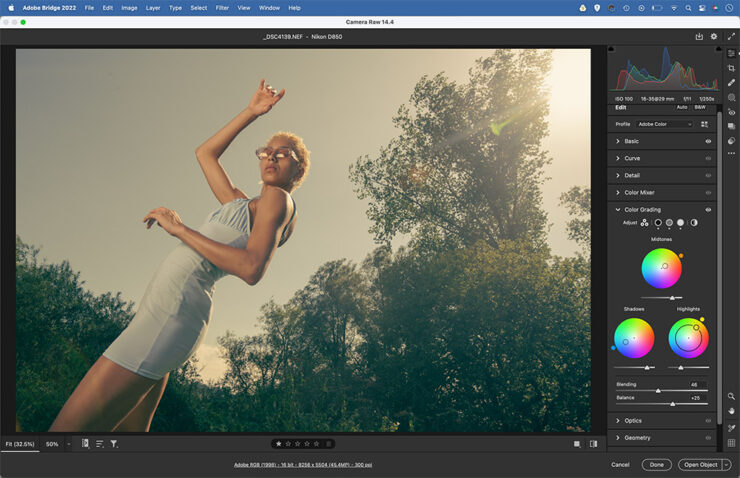
Color grading involves adjusting the colors to create a specific mood or look. This is often used in films and professional photography.
Color balance: Use the color balance tool to shift the colors in your photo. You can make the photo warmer or cooler.
Split toning: This technique involves adding different colors to the shadows and highlights. For example, you can add a blue tint to the shadows and a warm tint to the highlights.
4: Frequency separation
Frequency separation is a technique used in portrait retouching. It separates the photo into two layers: one for texture and one for color. This allows for precise retouching without affecting the overall texture of the skin.
Texture Layer: Use the high pass filter to create a texture layer. This layer contains all the fine details.
Color Layer: Blur the color layer slightly to remove blemishes and smooth the skin.
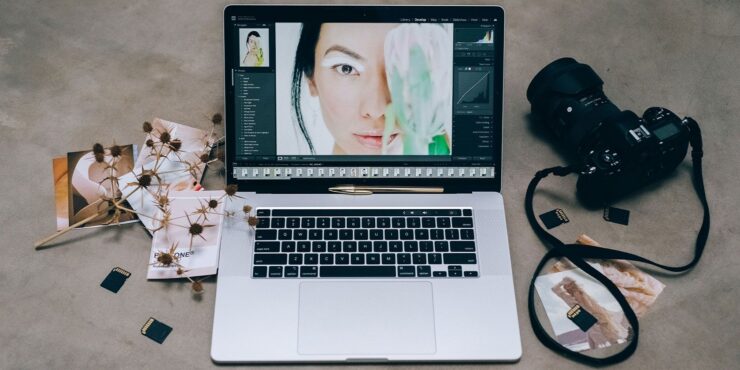
Outsourcing photo editing
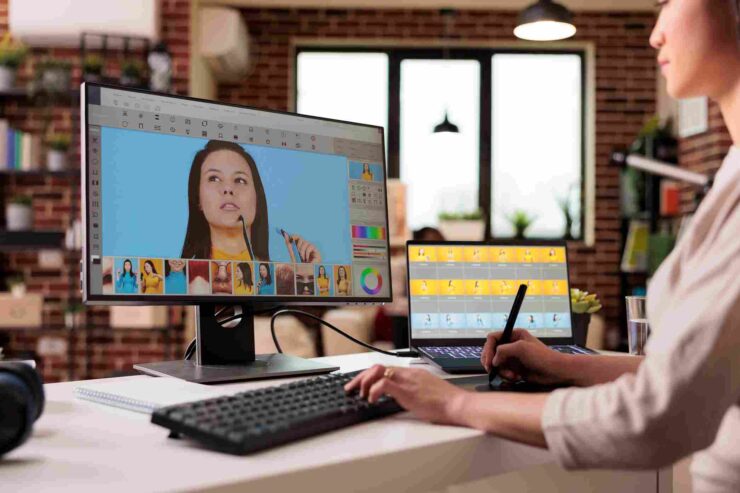
Editing is the time-consuming, especially if you have many photos to work on. Many photographers choose to outsource image editing to save time and focus on taking photos.
Why outsource image editing?
Save time: Editing takes time. By outsourcing, you focus on shooting and leave the editing to professionals.
Consistency: Professional editors ensure a consistent look and style across all your photos.
Expertise: Professional image editing services have the skills and tools to enhance your photos to the highest standard. If you want to learn more editing then click here.
Conclusion
Enhancing your photography through editing makes a significant difference in the quality of your photos. By learning and practicing basic and advanced editing techniques, you improve images and make them stand out. If editing becomes too time-consuming, consider outsourcing to professional image editing services. Whether you do it yourself or hire professionals, editing is a valuable tool that can help you achieve the best results in your photography.